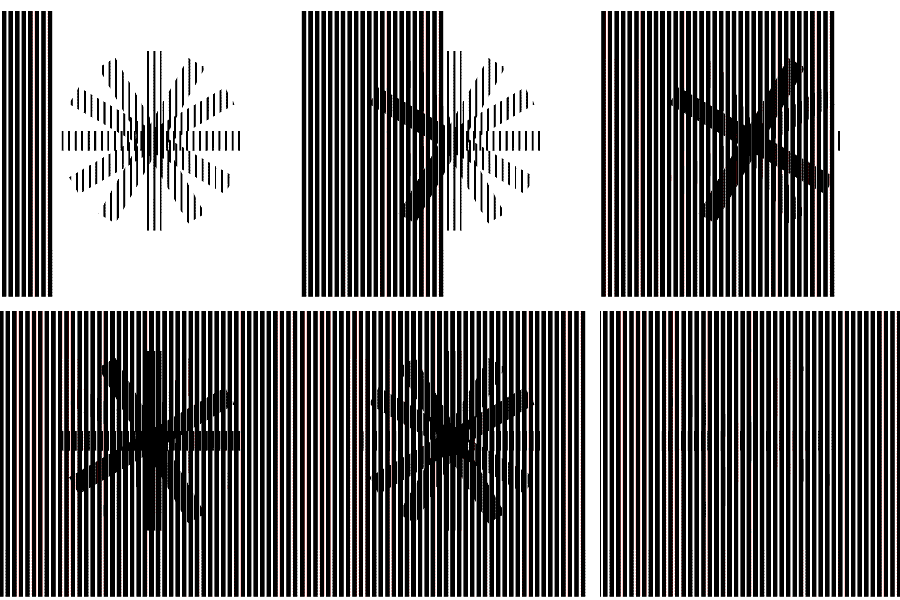
after seeing this optical illusion from youtube: http://www.youtube.com/watch?v=S5W5JJXtqhw
I can’t stop thinking of how this old school trick was made, then I did some examination with Photoshop…
WHAHAHA! GOTCHA! I know how it works… well, just the basic
(though it might already explained somwhere in the net… ),
but still… for anyone who still got no clue of this trick, I’ll let u know!
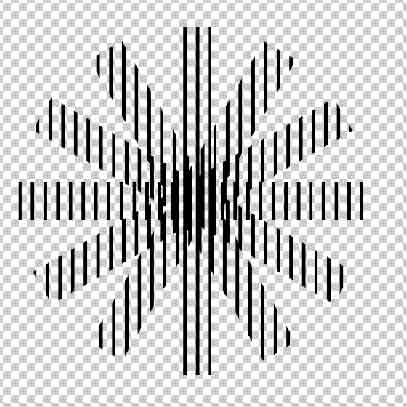
this is what it looks like after you follow through this tutorial:
Lets use the mighty photoshop for this trick…
first, let’s make the “special layer”
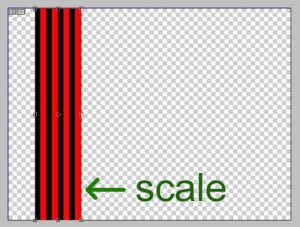
step 1. in a new layer, create two thick line. black & red, the black should be bigger than the red, should be like this :
step 2.duplicate those things, but still in one layer:
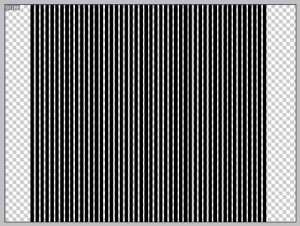
step 3. scale it & make it thinner:
step 4. now, duplicate again, then scale again.
this only so we could maintain the proportion of the black-red line. it doesn’t matter what method you’re using as log as it got the right proportion. the red line should be tinner than the black one to increase the frame range of the animation. (you’ll understand later).
step 5. From here, the “magic wand” will definitely brings you MAGIC !!
use the magic wand to select the red line, don’t forget to un-check the “contguous” option.
then delete it !
now we have the simple magic layer, lets create the magic picture:
think this as an animated scene, wich use frames. lets start with 3 frames.
step 6. create a new layer, then draw your desired image. but lets start with a simple object.
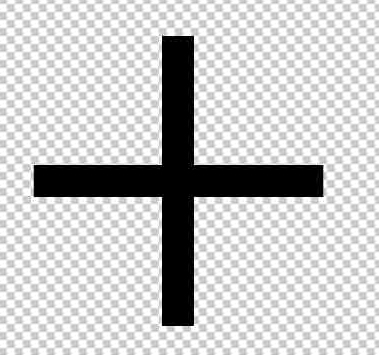
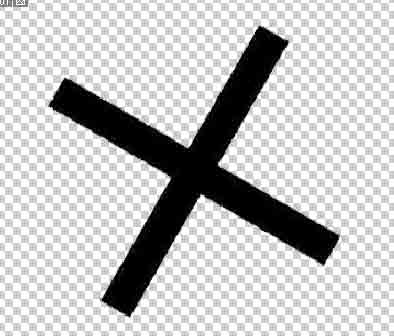
create a symmetric cross, or a plus:
step 7. we’ll make a rotating cross, so duplicate the 1st cross as a new layer, then rotate it.
since we’re making 3 frame animation, create the rotating sequence in 3 layers.
another two layers should be like these:
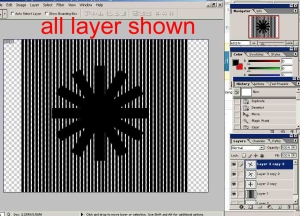
the preparation is complete. lets see what we’ve done this far,
unhide all the layers !
now lets continue with our magical “magic wand“:
step 8. hide the 2nd & 3rd layer so only the 1st layer and the magic layer (the layer with the crazy lines) remaining.
– choose the magic layer
– select magic wand (uncheck contiguous)
– select the black coloured line
– choose the 1st layer
– press delete
the 1st cross should be cut like this:
step 9. now well get to understand the basic principal of this optical illusion.
– unhide the 2nd layer,
– choose the magic layer, then slowly move it horizontally. you could use the move tools, then press the right/left arrow on your keyboard. move it until the cross is fading, but not completely dissapear.
starting to get the point right?
step 10. after slightly moving the magic layer,
now do the step 8 to the 2nd layer. (to slice the 2nd cross)
then move the magic layer again until the 2nd cross is fading (the 1st cross will probably dissapear)
do the step 8 to the 3rd layer again.
that’s it! merge the 3 cross,
then move the magic layer & have fun!
be careful, you’ll find your eyes getting dizzy at first. but thats the basic. try experiment with different shapes and more frames, make more exreme one, then print it! … or buy the book 😀
